Introduction
In this article you will learn how to take your python program and make it easy to download with your red hat pacakge manager. With the help of rpm (RedHat package manager) and dnf (also a package manager) we will achieve this task.
So let’s get started.
Creating Python Program
For this demonstration, our python program will be a backup script that uses a .conf file to get the files to backup, saves them inside a backup directory with timestamp, and generated failure file for logging.
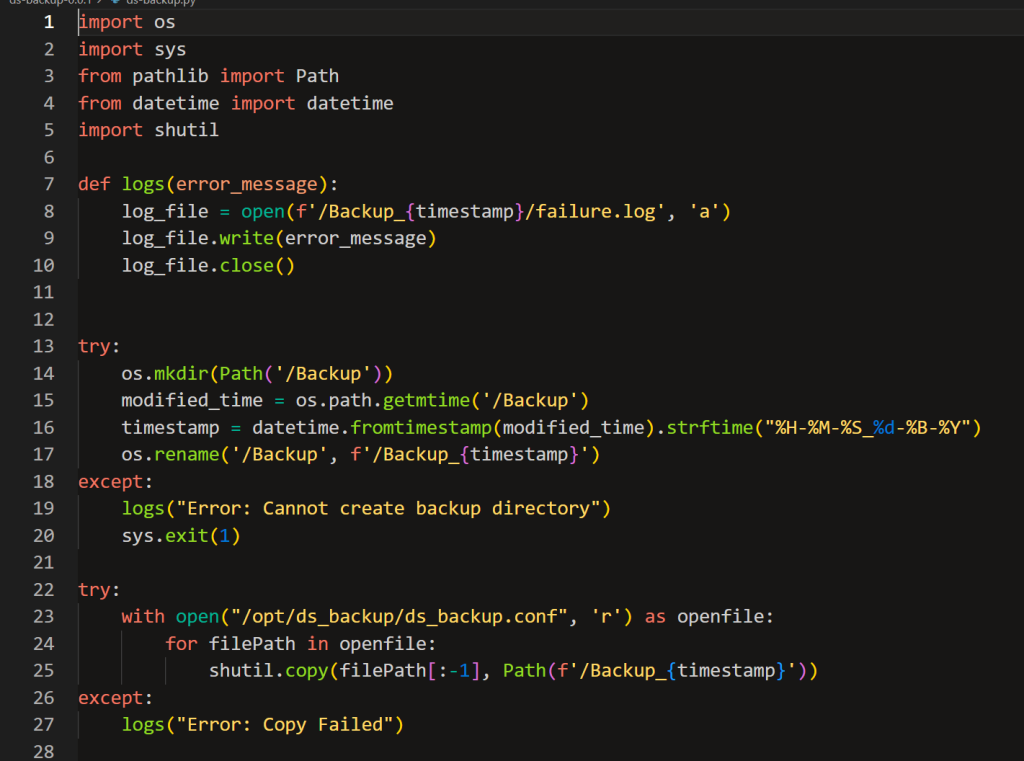
First we need to create a function, that will create a log file for errors. Then we need to create our backup directory with the current timestamp. For that we are using os and datatime libreries to help. After that, we need to copy the files from the conf file to our backup directory.
To achieve that we use the command:
shutil.copy
Installing and configuring RPM
Downloading requirements
Let’s start by downloading the relevant packages
First let’s update and upgrade our system
Run the commands:
sudo dnf update && upgrade
Run the commands:
sudo dnf install rpmdevtools rpmlint
Now we need to set up a file tree to be able to build RPM packages.
Run the following command:
rpmdev-setuptree
tree ~/rpmbuild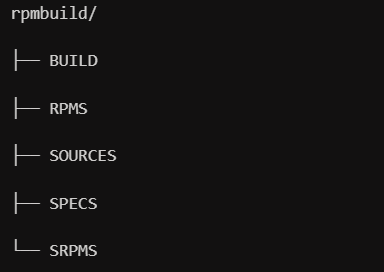
Now we need to create a directory that will hold our files.
In our example we have python and conf files.
mkdir ds-backup-0.0.1mv ds-backup.py ds-backup-0.0.1mv ds-backup.conf ds-backup-0.0.1
tar --create --file ds-backup-0.0.1.tar.gz ds-backup-0.0.1
mv ds-backup-0.0.1.tar.gz ~/rpmbuild/SOURCES
rpmdev-newspec ds-backup-0.0.1mv ds-backup-0.0.1.spec ~/rpmbuild/SPECS
tree ~/rpmbuild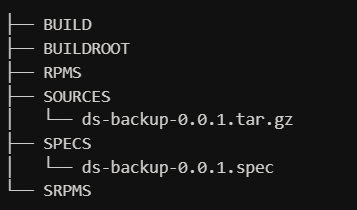
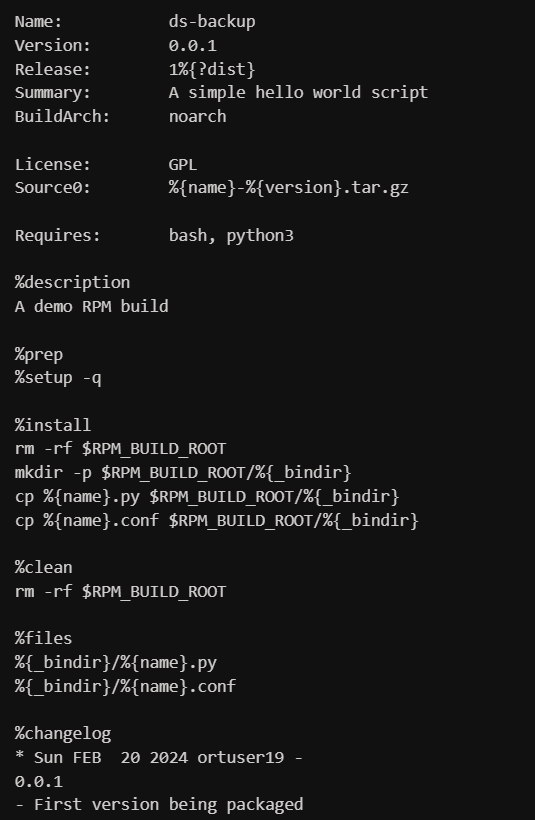
rpmlint ~/rpmbuild/SPECS/ds-backup-0.0.1.spec
Building the package (rpmbuild)
rpmbuild -bb ~/rpmbuild/SPECS/ds-backup-0.0.1.spec
tree ~/rpmbuild/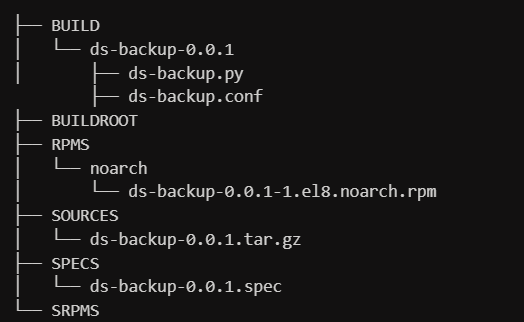
Installing createrepo and configuring repo
sudo dnf install createrepo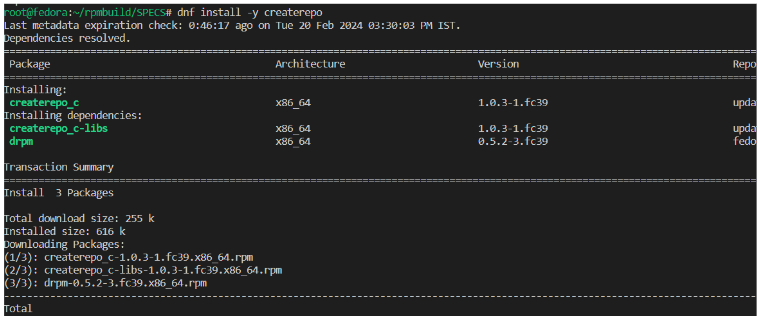
mkdir my-rpm-packagecd my-rpm-package. createrepo 
vi ds-backup.repo
Installing the RPM package
sudo dnf install ds-backup
Summary
So in this article we learned how to create a backup script in python, package it using rpm, and make it available to download.
I hope you enjoyed this article, I wish as less bugs as possible and happy coding 🙂


